


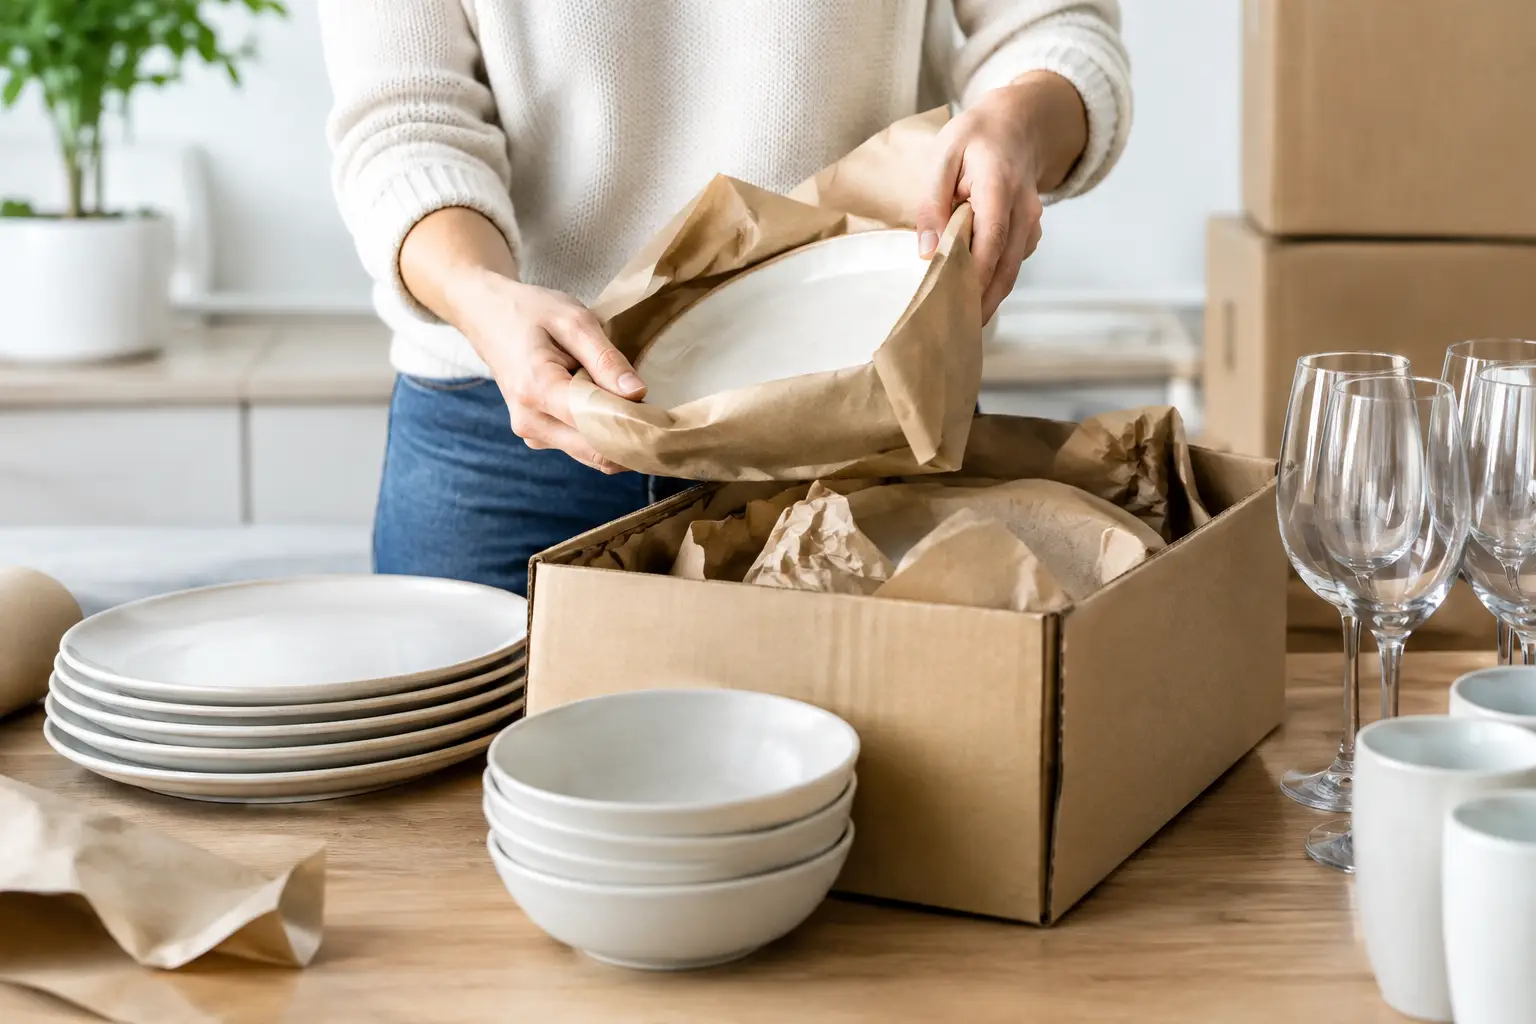
The kitchen usually takes longer to pack than people expect. It holds a mix of heavy glass, awkward cookware, sharp utensils, and items you still need until moving day. Knowing how to pack kitchen dishes correctly helps prevent broken boxes, damaged cabinets in transit, and the frustrating task of replacing everyday plates after you arrive.
The basic rule is simple: use strong boxes, wrap each breakable item, keep weight under control, and pack dishes vertically rather than flat. The details matter, especially when you are moving a full household or have a long distance between homes.
Start With the Right Packing Supplies
Kitchen dishes need more protection than standard household items. Reusing a thin grocery-store box may work for dry goods, but it is a poor choice for stoneware, glassware, and serving platters. Use small or medium moving boxes for dishes. A smaller box limits the total weight, which makes it easier to carry safely and less likely to fail at the bottom.
Gather packing paper, sturdy tape, a marker, bubble wrap for delicate or valuable pieces, and cardboard dividers for glasses if you have them. Dish-pack boxes, also called double-wall boxes, are a practical option for heavy china, crystal, or collections you cannot easily replace. They cost more than regular boxes, but the extra strength can be worthwhile for fragile items.
Avoid packing dishes directly in newspaper when possible. The ink can transfer to light-colored plates and glass, particularly if items are stored for several days. Clean packing paper is the better choice. Towels, dishcloths, and clean T-shirts can add cushioning, but they should supplement proper wrapping rather than replace it.
Sort Before You Pack Kitchen Dishes
Packing is easier when you do not try to preserve every item in the kitchen. Set aside chipped mugs, unmatched containers, duplicate utensils, and appliances you no longer use. Moving them adds box space and handling time without much value.
Keep out a small set of essentials for the final day and the first morning in the new home. A few plates, bowls, cups, forks, a saucepan, a can opener, and coffee supplies are usually enough. Pack these in a clearly marked open-first box after the rest of the kitchen is complete.
Sort the remaining dishes by type and size. Dinner plates, salad plates, bowls, mugs, glasses, and serving pieces pack differently. Grouping similar items lets you build stable boxes and makes unpacking faster. It also keeps a heavy ceramic plate from being packed beside a thin wine glass with too little protection between them.
How to Pack Plates, Bowls, and Platters
Line the bottom of a small box with several crumpled sheets of packing paper. The paper should form a cushion, not a perfectly flat layer. Put a sheet of paper on a table, place one plate near a corner, and fold the paper around it. Add a second plate on top, then continue wrapping in small bundles of two or three plates.
Place wrapped plates on their edges in the box, like records in a crate. Vertical packing distributes pressure more safely than stacking plates flat, where the weight of the upper plates can crack the ones beneath them. Keep the plates snug enough that they will not shift, but do not force them into place.
Bowls can be nested with a sheet of paper between each bowl, then wrapped as a group. Large serving bowls and platters deserve individual wrapping, especially if they have handles, thin rims, or decorative edges. Add extra paper around those vulnerable areas.
As you fill a box, add crumpled paper along the sides and in any gaps. A properly packed dish box should not rattle when gently moved. Before sealing it, add another thick layer of paper across the top. Tape the bottom seam and side seams before packing, then tape the top securely when full.
Pack Glasses and Mugs One at a Time
Glasses are most likely to break around the rim, stem, handle, and base. Start by stuffing the inside of each glass with crumpled packing paper. Wrap the glass from the rim down, using enough paper to protect the full surface. For stemware, wrap the stem separately before wrapping the entire glass.
Place glasses upright in the box. If you have cardboard dividers, use them, particularly for wine glasses and tall drinking glasses. Without dividers, create firm paper padding between each item and do not allow glass to touch glass.
Mugs should also be individually wrapped. Protect the handle with a folded piece of paper first, then wrap the mug completely. Pack mugs upright and avoid placing heavy plates directly above them. If a box includes both mugs and plates, place the heavier, flatter items at the bottom and the mugs in a protected upper layer.
Handle Pots, Pans, and Appliances Separately
Pots and pans are less fragile than dishes, but they can still cause damage if packed carelessly. Nest pots by size with packing paper or a dish towel between them to prevent scratches. Wrap glass lids separately and place them upright with dishes or secure them against the side of the box with padding.
Use the interior of large pots for lightweight kitchen items, such as measuring cups or wrapped utensils. Do not fill them with heavy objects that could turn the pot into an awkward load. Tape loose lids together only if the tape will not leave residue on the finish.
Small appliances should be cleaned, dried, and packed in their original boxes when available. If those boxes are gone, use a medium box with paper around the appliance and its cord. Keep removable pieces together in a labeled bag inside the same box. Never pack a coffee maker, blender, or slow cooker while it is damp. Moisture can lead to odors and can affect electrical components.
Keep Boxes Safe to Lift and Easy to Identify
A dish box can become too heavy quickly. Stop filling it before it becomes difficult to lift comfortably. In most cases, a smaller, well-padded box is safer than a large box packed to capacity. Heavy boxes are harder on the people carrying them and more likely to be dropped during loading.
Label each box on at least two sides. Write “Kitchen,” “Fragile,” and a general description such as “Plates and Bowls” or “Glassware.” Labels help movers place boxes in the right room and alert anyone handling them to use care. Marking the top with arrows can help, but good internal packing matters more because boxes may still be turned during transport.
Do not mix cleaning chemicals, food liquids, or sharp knives with dishes. Pack knives in a separate, clearly labeled box after protecting each blade with paper or a knife guard. Liquids should be checked for leaks and packed according to your mover’s policies. Many moving companies will not transport certain hazardous or flammable household products.
Load Dish Boxes With Stability in Mind
When loading the truck, keep dish boxes upright and place them on a flat, stable surface. They should not sit underneath furniture, toolboxes, or other heavy items. A dish box can be stacked with other lightweight, similarly sized boxes if it is secure, but avoid building a tall, unstable column.
For a do-it-yourself move, use moving blankets and straps to limit shifting inside the truck. If you are using professional movers, point out boxes containing glassware or heirloom pieces before loading begins. A reliable crew will still handle every box carefully, but clear labels and a quick walkthrough help protect items that need extra attention.
If your move is large, scheduled tightly, or includes valuable china and glassware, professional packing can reduce the workload and the risk of damage. STC Movers can help households plan packing and transportation around the items that require the most careful handling.
Give yourself time to pack the kitchen in stages rather than trying to finish it the night before a move. Careful wrapping, manageable box weights, and clear labels turn one of the most breakable rooms in the house into a controlled part of the moving process.